
Capturing stunning photos in low light conditions can be a challenge, but with the right techniques and equipment, you can turn those challenging situations into opportunities for beautiful and dramatic shots. Whether you’re photographing a sunset, a dimly lit restaurant, or the night sky, here are some tips to help you take amazing photos in low light.
1. Understand Your Camera Settings
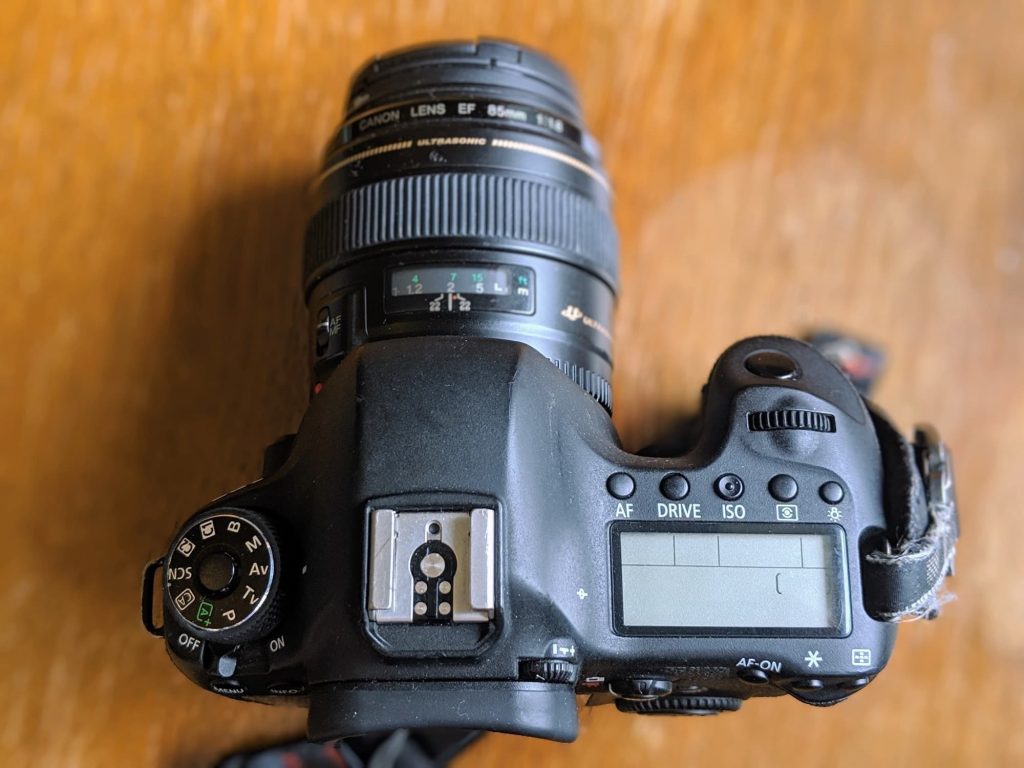
The first step to mastering low light photography is understanding how your camera’s settings affect your images. Three key settings to focus on are ISO, aperture, and shutter speed.
- ISO: This setting controls the camera’s sensitivity to light. Higher ISO values allow you to capture more light, but they also increase the noise (graininess) in your photos. For low light conditions, start with a higher ISO, but try to balance it to avoid excessive noise. Modern cameras handle higher ISO levels better, so experiment with values like 800, 1600, or even 3200, depending on your camera’s capabilities.
- Aperture: The aperture controls the amount of light that enters the camera through the lens. A lower f-number (e.g., f/1.8 or f/2.8) means a wider aperture, allowing more light to reach the sensor. This is especially useful in low light situations. Additionally, a wider aperture creates a shallow depth of field, which can help you isolate your subject from the background.
- Shutter Speed: Shutter speed determines how long the camera’s shutter remains open to let light in. In low light, you might need a slower shutter speed to capture enough light. However, slower shutter speeds can also introduce motion blur if either the subject or camera is moving. To avoid this, use a tripod or a stable surface, and try to keep the shutter speed no slower than the reciprocal of your focal length (e.g., 1/50 second for a 50mm lens).
2. Use a Tripod
A tripod is an essential tool for low light photography. It stabilizes your camera and allows you to use slower shutter speeds without introducing blur. If you don’t have a tripod, try using a stable surface like a table or wall to brace your camera. For handheld shots, consider using image stabilization features if your camera or lens has them.
3. Utilize Manual Focus
In low light, your camera’s autofocus system might struggle to lock onto your subject. Switching to manual focus allows you to have complete control over focusing. Use your camera’s live view mode or zoom in on the LCD screen to ensure precise focus. Manual focus can be especially useful for low light situations where the autofocus might fail to detect contrast.
4. Shoot in RAW Format
Shooting in RAW format gives you more flexibility in post-processing. RAW files contain more information and dynamic range compared to JPEGs, which means you can recover details in the shadows and highlights more effectively. This can be a lifesaver when dealing with low light images that may have a wide range of exposure levels.
5. Experiment with Long Exposures
Long exposure photography can create striking effects in low light conditions. By leaving the shutter open for an extended period, you can capture motion and light trails, such as the movement of stars in the night sky or the flow of traffic. To achieve this, use a tripod, set a slow shutter speed, and consider using a remote shutter release or the camera’s self-timer to avoid camera shake.
6. Make Use of Ambient Light
Look for sources of ambient light that can enhance your photos. Streetlights, neon signs, or the soft glow from windows can add interesting elements to your composition. Incorporating these light sources can help illuminate your subject and create a more dynamic image. Be mindful of how these light sources affect the overall exposure and color balance of your photo.
7. Adjust White Balance
Low light conditions can sometimes result in unusual color casts. Adjusting your camera’s white balance setting can help correct these color issues. Experiment with different white balance presets, such as Tungsten or Fluorescent, depending on the type of lighting you’re working with. Alternatively, you can correct white balance during post-processing if you’re shooting in RAW format.
8. Use the Right Lens
A lens with a large maximum aperture (e.g., f/1.8 or f/2.8) is particularly useful in low light conditions. Prime lenses, which have fixed focal lengths, often offer larger apertures compared to zoom lenses. If you’re using a zoom lens, opt for one with image stabilization to help reduce camera shake during slower shutter speeds.
9. Increase the Exposure Time
In very low light conditions, you might need to increase your exposure time to capture enough light. This can be done by slowing down the shutter speed. Just remember that longer exposure times require a steady camera to prevent blur. For extremely long exposures, use a remote shutter release or the camera’s built-in timer to minimize vibrations.
10. Post-Processing
Finally, post-processing is a crucial step in achieving the best results from your low light photos. Use editing software to adjust exposure, contrast, and noise levels. Tools like Adobe Lightroom or Photoshop can help you enhance details, correct colors, and reduce noise. Don’t be afraid to experiment with different adjustments to bring out the best in your images.
Conclusion
Taking amazing photos in low light conditions requires a combination of technical skills, the right equipment, and a bit of creativity. By mastering your camera settings, using a tripod, and making use of ambient light, you can capture stunning images even in the darkest environments. Remember to experiment and practice, as low light photography often involves a bit of trial and error. With these tips in mind, you’ll be well on your way to creating beautiful and memorable photos in any lighting condition. For more insights and further information about atmospheric perspective photography, please visit their page to learn more.


